Way back in September when it was still iced-coffee and flip-flops weather, the holidays started here in NY - from a retail perspective, anyways. And that meant Costco started carrying their enormous tubs of peppermint bark. And without fail, every time we passed the baked goods section, Daniel would try to convince me that we needed to have a 2 lb tub of peppermint bark in our pantry because: "It's the perfect after-dinner snack." "It's perfect for when you wake up because it's so minty and fresh." "You can bring it for lunch if you're in a rush." Needless to say, we did not get the bark. However, on the last night of Hanukkah, I did surprise him with homemade bark - partially because I felt so bad that I had deprived him for four months, but mostly because it is so so SO easy to make! Once I had made it, I placed it up in a little tin, and wrapped it in homemade wrapping paper (read: newspaper) with a pretty little bow made out of magazine strips. I'll tell you more about that later! So, this is the basic idea. Buy some mints. Crush them. Melt semi-sweet chocolate. Mix in crushed mint. Spread it. Melt white chocolate. Repeat. Refrigerate. Break apart. Voila! Yield: 1 and 1/2 pounds Ingredients: 10 oz semi-sweet chocolate chips 10 oz white chocolate chips 30 peppermint candies (starlets) Directions: 1. Lightly grease baking sheet. Line with parchment paper. 2. Crush peppermint candies in a durable bag (I used 3 ziplocs and a hammer). Try to keep 1/3 of the candies large, and 2/3 of the candies on the smaller side. 3. Carefully microwave semi-sweet chocolate chips in a microwave-safe bowl for approximately one minute, stirring frequently. Once melted, stir in half of the "smaller" candies. Spread on baking sheet. Place in refrigerator. 4. Meanwhile, carefully microwave white chocolate chips in a microwave-safe bowl for approximately one minute, stirring frequently. Once melted, stir in the remainder of of the "smaller" candies. 5. Remove baking sheet from refrigerator and spread white chocolate chip mixture over semi-sweet chocolate layer. 6. Press the remaining "large" candies into the top layer. 7. Let stand or refrigerate approximately one hour, or until completely hardened. 8. Break into pieces, store in an airtight container and share with someone you love :) ♥, Frieda
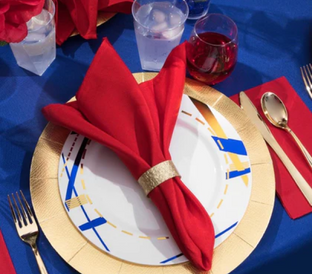
Ready to host the most crave-worthy gathering ever? This guide dishes out everything you need—from build-your-own burger bar layouts and burger topping bar must-haves to birthday twists, burger BBQ party tips, and fun games—so your crowd can stack dream burgers...
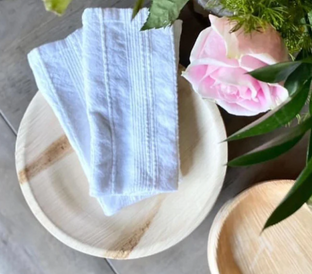
Crisp air, cozy colors, and comforting flavors make fall the perfect season to celebrate a growing family—whether you're planning a classic shower, a baby sprinkle, or a fun gender reveal. In this guide, you'll find stylish fall baby shower ideas...
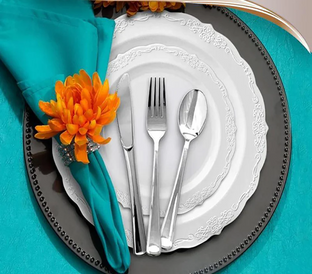
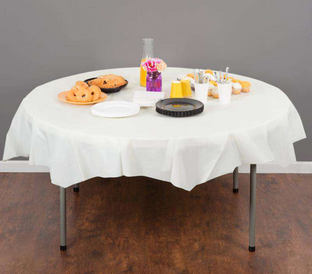
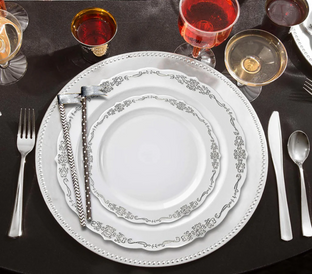
Make this your easiest—and most beautiful—holiday yet. In this guide, you'll find Thanksgiving party ideas that cover everything from stress-free planning, timelines, and festive décor to menu shortcuts, hosting tips, and polished tablescapes that feel like real china (without the...


")
") So, this is the basic idea. Buy some mints. Crush them.
So, this is the basic idea. Buy some mints. Crush them. ") Melt semi-sweet chocolate. Mix in crushed mint. Spread it. Melt white chocolate. Repeat.
Melt semi-sweet chocolate. Mix in crushed mint. Spread it. Melt white chocolate. Repeat. ") Refrigerate. Break apart. Voila!
Refrigerate. Break apart. Voila! ") Yield: 1 and 1/2 pounds Ingredients: 10 oz semi-sweet chocolate chips 10 oz white chocolate chips 30 peppermint candies (starlets) Directions: 1. Lightly grease baking sheet. Line with parchment paper. 2. Crush peppermint candies in a durable bag (I used 3 ziplocs and a hammer). Try to keep 1/3 of the candies large, and 2/3 of the candies on the smaller side. 3. Carefully microwave semi-sweet chocolate chips in a microwave-safe bowl for approximately one minute, stirring frequently. Once melted, stir in half of the "smaller" candies. Spread on baking sheet. Place in refrigerator. 4. Meanwhile, carefully microwave white chocolate chips in a microwave-safe bowl for approximately one minute, stirring frequently. Once melted, stir in the remainder of of the "smaller" candies. 5. Remove baking sheet from refrigerator and spread white chocolate chip mixture over semi-sweet chocolate layer. 6. Press the remaining "large" candies into the top layer. 7. Let stand or refrigerate approximately one hour, or until completely hardened. 8. Break into pieces, store in an airtight container and share with someone you love :) ♥, Frieda
Yield: 1 and 1/2 pounds Ingredients: 10 oz semi-sweet chocolate chips 10 oz white chocolate chips 30 peppermint candies (starlets) Directions: 1. Lightly grease baking sheet. Line with parchment paper. 2. Crush peppermint candies in a durable bag (I used 3 ziplocs and a hammer). Try to keep 1/3 of the candies large, and 2/3 of the candies on the smaller side. 3. Carefully microwave semi-sweet chocolate chips in a microwave-safe bowl for approximately one minute, stirring frequently. Once melted, stir in half of the "smaller" candies. Spread on baking sheet. Place in refrigerator. 4. Meanwhile, carefully microwave white chocolate chips in a microwave-safe bowl for approximately one minute, stirring frequently. Once melted, stir in the remainder of of the "smaller" candies. 5. Remove baking sheet from refrigerator and spread white chocolate chip mixture over semi-sweet chocolate layer. 6. Press the remaining "large" candies into the top layer. 7. Let stand or refrigerate approximately one hour, or until completely hardened. 8. Break into pieces, store in an airtight container and share with someone you love :) ♥, Frieda


