"These are tiny gingerbread houses that are meant to be perched on the edge of a mug of hot chocolate! You can generally follow the size of The Mini Gingerbread House Kit (though, those pieces don't fit together as nicely as one would like). The only instruction is that you should make sure that the wall pieces are to be sandwiched on the inside of the door pieces, that way the roof fits on properly. There are two door pieces you can choose from, one at 3/8ths inch wide and one at 1/2 inch wide. A 3/8ths inch door, or slot, fits most mugs but the 1/2 can be used for your really big and heavy mugs. The pieces are traced onto this template page that is pictured below.
Use the Gingerbread Snowflake and the Royal Icing recipes from marthastewart.com. I rolled it out onto a sheet of tin foil at 1/8th inch thick. I skipped a silicone mat because I use a paring knife for the corner details and didn't want to accidentally cut down to the layers of glass fibers, and after some trial I found that parchment paper will warp after being chilled and then stuck in an oven which can distort some shapes.
I used a dull sewing pattern roller (like a small pizza cutter) to go around most sides. You can do all of one side than turn the entire sheet of tin foil 90 degrees to do all of the next side, this makes the process go a bit faster. Try to fit all the pieces for each individual house in the same batch, I found my batches browned differently from each other. Lift the excess dough up from the tin foil, not moving your cut out shapes at all, this will help them keep their shape. Then slide the tin foil sheet onto a cookie sheet and put both in the freezer for about 15 minutes, you want the dough really well chilled before baking.
I used a (well cleaned) flat head screwdriver to get in the detail around the doors, then a paring knife to make sure the corners are cut cleanly. Here are some tips, most of these are in the recipe but I don't want you to overlook them:
After making it divide the dough into thirds (I made half a recipe) wrap in plastic wrap and chill in the fridge for at least an hour, preferably overnight. Make the royal icing while it's chilling, you'll need it before you make all the gingerbread you are planning on.
Roll the dough out to 1/8th of an inch. It seems impossibly thin but you be cutting the shapes and pulling the excess dough from around them so your pieces won't be too disturbed. Feel free to nudge your shapes back into squares before chilling them again.
Preheat the oven, roll the dough out on tin foil, cut your shapes and lift off the excess dough, slide the tin foil onto your cookie sheet, now put the cookie sheet into the freezer for at least 15 minutes before baking. This will keep the gingerbread from spreading too much.
Make a single test house with your chosen door width. This sounds like a pita, and it will be, but it will be far less trouble than the frustration of finding none of your finished houses fit on mugs. Knowing now that you need to cut a wider door is worth it.
I found that dough chilled for only an hour puffed up quite a bit, but didn't necessarily spread if the cut out shapes were chilled in the freezer. Dough that had been in the fridge overnight, or even the second day (it'll keep for a few days) puffed up quite a bit less, perhaps because the baking powder had lost it's mojo by this time?
If you suspect your intended mugs are thicker and sturdier than usual grab some cardstock or a magazine insert and cut a few different slots -- 1/4, 3/8 and 1/2 inch wide, about two inches deep (or tall). The one that slides easily onto the edge of you mug and even has a little wiggle room is the width you want for your door.
If your gingerbread should spread and the doors look too narrow to you, you can trim them when the gingerbread is just out of the oven before it sets and cools too much. I suggest a paring knife and trimming just a bit from either side of the door.
I decided to only decorate the roofs for now. I might make these again next year and get more detailed with the decorations. I used a variety of sugars and sprinkles. One note, I discovered that candy cane dust will stick together so well that it will not show any piping detail beneath it. I liked the way regular sanding sugar made the roof sparkle a bit, though I couldn't capture the cuteness in my pictures.
Don't fill your mug of hot chocolate too full, you don't want the bottom of your gingerbread house to get soggy. These would be fantastic made out of sugar cookie or shortbread dough. You could certainly leave them not decorated, or perhaps press sanding sugar into the roof pieces before baking. On the other hand I'm curious to see what one would look like covered in pieces of tiny candies.
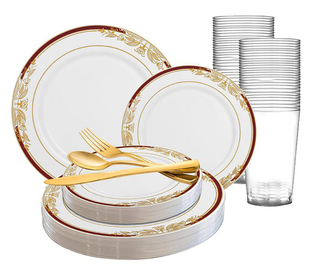
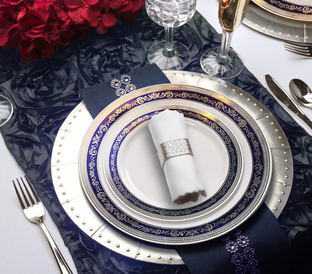
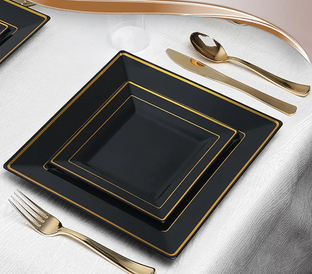
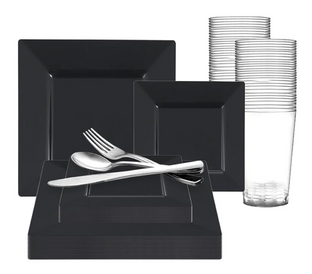
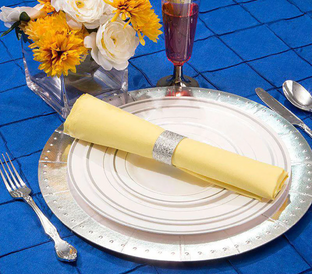
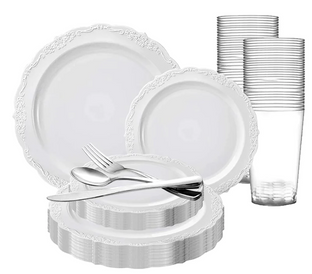
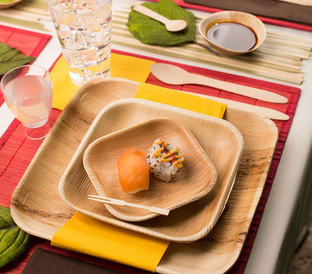
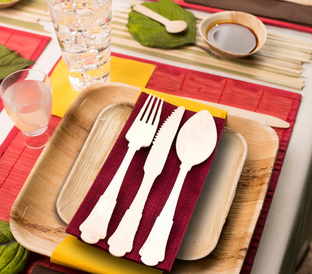
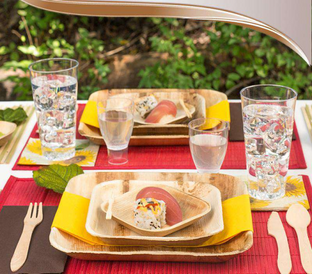
Planning a memorable kids' party involves many considerations, from choosing the theme and activities to ensuring everyone has a fantastic time. However, one aspect that often gets overlooked until the post-party cleanup is the tableware. Picture this: a fun-filled party...
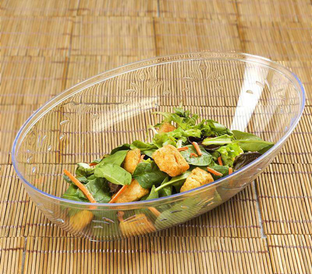
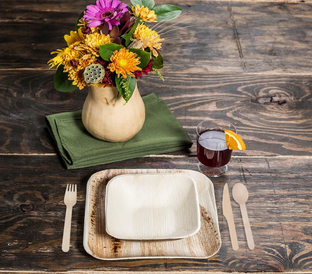
Welcome to the era of eco-conscious celebrations! As our awareness of environmental issues grows, so does our desire to host gatherings that positively impact the planet. This blog post delves into the art of hosting green gatherings and celebrating Earth-Friendly...
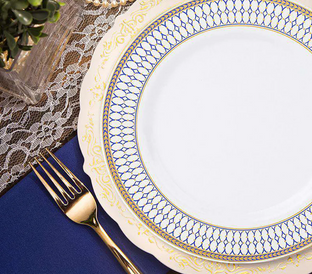
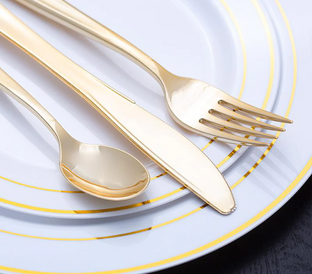
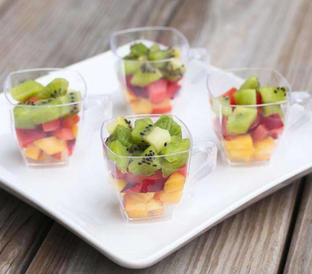
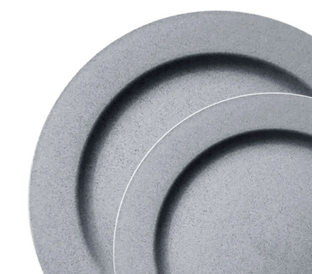
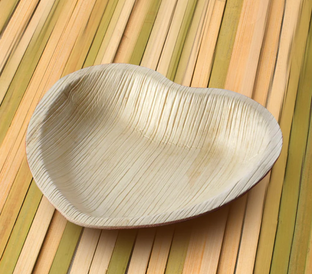
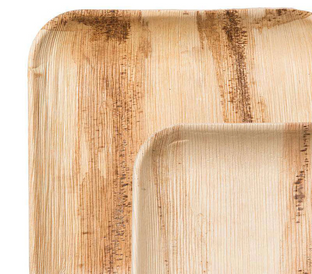
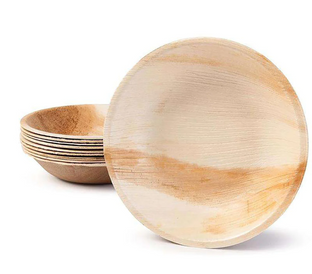
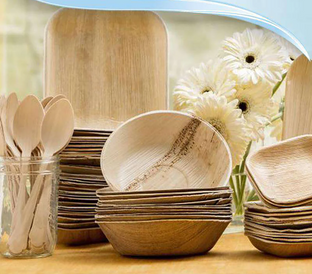
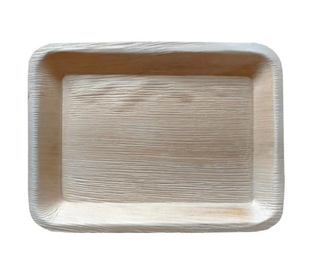
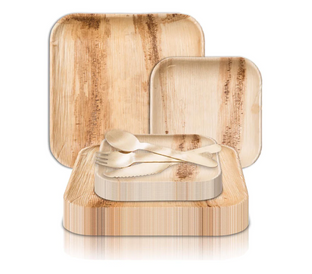
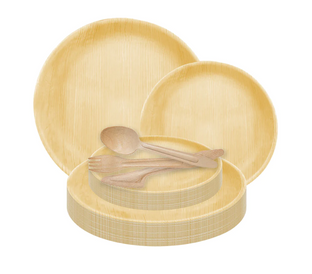
Welcome to a world where sustainability meets style, where every meal becomes a statement for a greener tomorrow. In our quest for a more environmentally conscious lifestyle, one area that often goes overlooked is our choice of dinnerware. Earth-friendly feasts...